
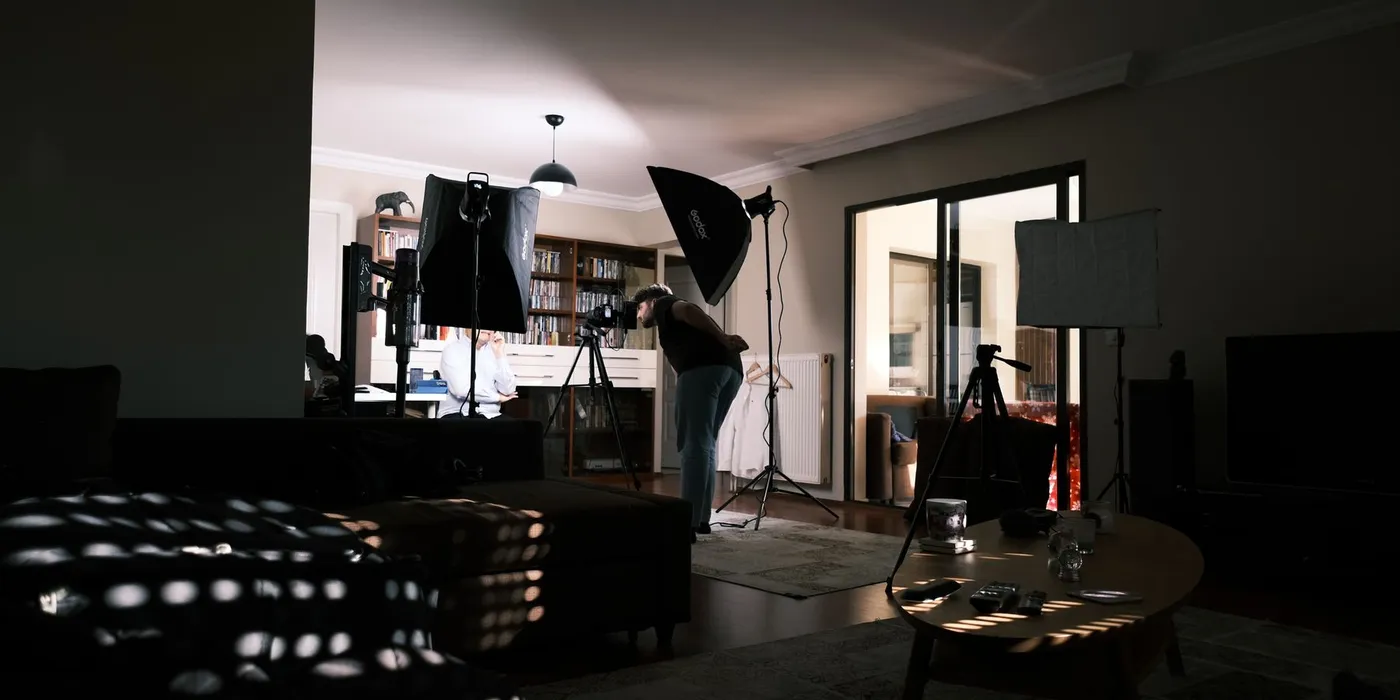
The guide
Good light is mostly placement, not purchases
Before you look at a single product page, spend ten minutes moving what is already in the room. Most of the improvement lives there.
Start by switching things off
The first lighting decision in most homes is subtractive. Ceiling fixtures throw light straight down, which fills eye sockets with shadow and lights the top of the head more than the face. Turn them off, then look at the room again with only the window and the lamps you choose.
Now sit where your subject will sit and notice where the brightest light is coming from. That direction is your starting point. You are not trying to make the room bright; you are trying to make one side of a face a little brighter than the other, with the background a little darker than both.
Use the window as your main light
A window is a large, soft light source that costs nothing. Its weakness is that it moves and changes with the weather, so it suits short recordings better than a two-hour session.
Side and slightly in front is the reliable starting position: the person faces across the room, the window off to one side, so light wraps across the face and leaves a gentle shadow on the far cheek.
Facing the window gives flat, even light. It is flattering and simple, but can look a little lifeless.
Window behind the subject usually produces a silhouette. Unless that is the look you want, turn the setup around.
Direct sun is hard and moves quickly. A thin white curtain, or a sheet hung across the frame, turns it into something much easier to work with.
Window positions
Three places to stand
-
Window to the sideShape and depth on the face. The usual first choice.
-
Facing the windowEven and flattering, with fewer shadows and less depth.
-
Window behindA silhouette unless you add light from the front.
Key, fill and back: three jobs, not three lights
Classic lighting language describes three roles. They are worth knowing because they let you diagnose a picture, even when you only have one lamp.
The key is the main light that shapes the face. It is usually placed off to one side of the camera and a little above eye level.
The fill softens the shadows the key creates. It does not need to be a light at all: a white wall, a sheet of foam board or a pillowcase over a chair on the shadow side can bounce enough back.
The back light sits behind the subject and catches the edge of hair and shoulders, separating them from the background. A lamp placed out of frame behind the person often does this job.
Judge the balance on the camera screen, not by eye. If the shadow side looks muddy, bring the bounce closer. If the face looks flat, move it away or remove it.
Colour temperature, and why mixed light looks wrong
Every light has a colour. Household bulbs are usually warm and orange-leaning; daylight from a window is cooler and bluer. Your eye adjusts without telling you. The camera does not.
Colour temperature is measured in kelvin (K). Lower numbers are warmer, higher numbers are cooler. The figures in the panel are rough, commonly quoted values; real bulbs and real skies vary.
Pick one family of light per subject. If a face is lit half by a window and half by a warm lamp, no single white balance setting will make both sides look natural.
Set white balance manually for the light on the face, using a preset or a white card. Automatic white balance can drift during a take as someone moves.
Mixed light in the background can look lovely: a warm lamp in a cool, daylit room reads as cosy rather than wrong.
Typical sources, warm to cool
-
Candle or very warm bulbAround 1900–2400 K. Deep orange.
-
Household “warm white”Often listed near 2700–3000 K on the box.
-
Halogen or tungsten lampRoughly 3000–3200 K.
-
Daylight through a windowVery roughly 5000–6500 K, cooler on overcast days and in shade.
Soft light, hard light, and how to change one into the other
A light’s softness depends on how large it looks from the subject’s position. A bare bulb is small, so its shadows have crisp edges.
A big lit surface, such as a sheet, a wall or a cloudy sky, wraps around a face and leaves shadows that fade gradually.
To soften: bounce the lamp into a ceiling, a white wall or a sheet of foam board, and let that surface become the light.
Or diffuse: hang thin white fabric or a frosted shower curtain in front of the lamp, on its own frame and well away from the bulb.
Move it closer. A diffused source near the subject is softer than the same source across the room, and it falls off faster into the background.
Take light away, too. A dark blanket on the shadow side, called negative fill, deepens shadows and adds shape when a white room is bouncing light everywhere.
Practical lamps: lights you can see in the shot
A table lamp, a string of small bulbs or a desk light that appears in the frame is called a practical. Practicals add depth, tell the viewer where the light is supposed to come from, and make a plain room look lived-in.
Keep them dim. A lampshade that blows out to pure white pulls the eye away from the face. A lower-wattage bulb, a dimmer or a layer of fabric inside the shade can help, as long as the fabric is well clear of the bulb.
Let them motivate the key. If a lamp sits on the left of the frame, lighting the face from the left makes the scene feel believable.
Test for flicker. Some LED bulbs and dimmers pulse in ways the camera records but your eye does not see. Record a ten-second test and check it before the real take.
Before you roll
Practical lamp checklist
-
Shade not clippingDetail still visible in the brightest part of the shade.
-
Colour matches the storyWarm in a cool room is fine if it is deliberate.
-
No visible flickerShort test clip played back on a large screen.
-
Nothing touching the bulbFabric and paper kept well away from the heat.
Lighting an interview at home
A seated interview is the setup beginners build most often, and the one that rewards a little care the most.
Pull the subject away from the wall. Even a metre or two lets the background fall darker than the face and pushes shadows down and out of frame.
Place the key on the far side. If the person looks slightly to the left of the camera, put the key on the left too, so the side of the face turned away from the lens catches the shadow. This “short side” arrangement tends to look more shaped.
Light the face first, then the room around it. Everything else is in service of the eyes.
Look for the catchlight. A small reflection of the key in each eye makes a face look alive. If you cannot see one, the light may be too high or too far to the side.
Separate from the background with a lamp behind and to the side, or a practical in the frame.
Prefer lamps for long sessions. Window light can change noticeably over an hour, which shows when you cut between answers recorded at different times.
Reading shadows and setting exposure
Once the lights are placed, the camera decides how it all looks. Expose for the face, not the room.
- Use a measurement. Zebras or a histogram are more trustworthy than a small screen that changes with room brightness.
- Protect the bright side. A face that has clipped to white has lost detail that cannot be recovered in the edit.
- Check the shadow side. If it is very dark and noisy, add bounce rather than raising the camera’s gain a long way.
- Lock settings. Automatic exposure and white balance can shift as someone leans or a cloud passes. Set them manually for each setup.
- Watch the background. A bright window or white wall behind someone is usually the first thing to clip.
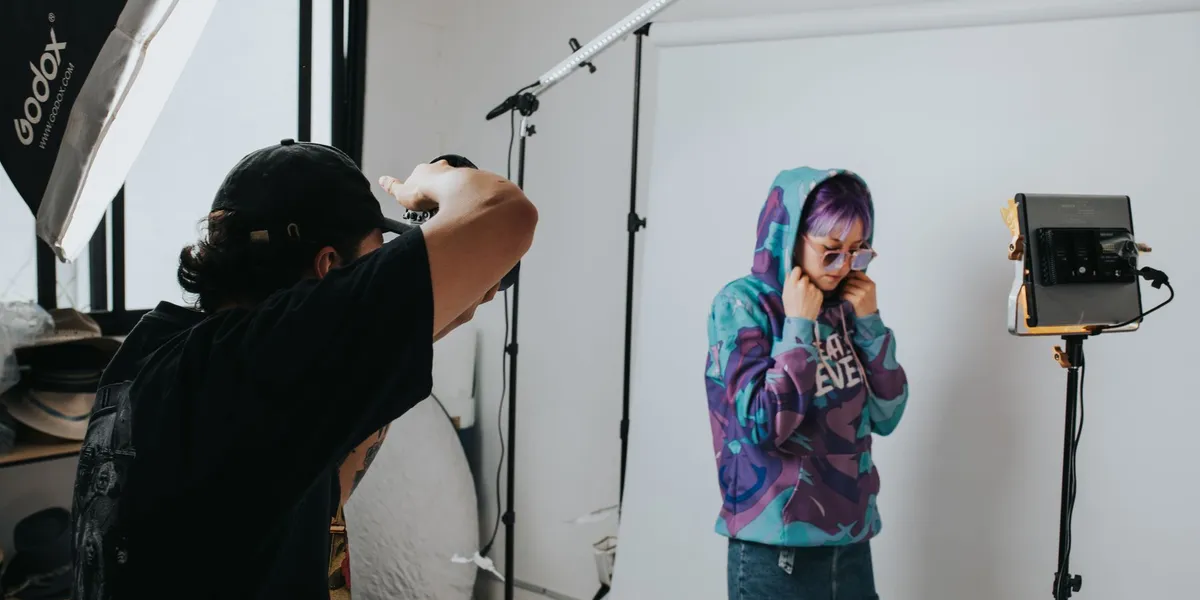
The photograph shows the same principles with dedicated gear: a panel to one side, a large soft source, and a light from above to separate the subject. Household versions of each job work too.
Safety with lamps, heat and power
Household lighting feels harmless because it is familiar, but moving lamps into unusual positions and leaving them on for long periods changes the risks.
- Heat. Incandescent and halogen bulbs get hot enough to scorch or ignite paper and fabric. Keep diffusion and bounce materials well away from them, and never cover a hot lamp.
- LEDs warm up too. They run cooler, but enclosing them can still shorten their life or damage their electronics.
- Power. Do not daisy-chain extension leads or overload a power strip. Check that cables and plugs are undamaged, and do not open or modify fittings.
- Trips and tips. Tape cables down or run them along walls. Weigh down tall lamps and stands so a passing elbow cannot pull them over.
- Cool down before moving. Switch lamps off between setups and let them cool before you touch the bulb or shade.
This is general guidance, not electrical or fire-safety advice. If a fitting is damaged or you are unsure about a circuit, ask a qualified electrician.